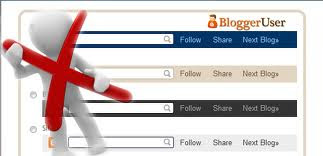
Let’s remove the Navbar to give your blog a more professional look. At the top of Blogger blogs, you'll see a bar in blue or transparent colors which enables you to sign in, search, go to next blog, customize, etc. It is known as Navbar.
This can also be found under the Layout tab (on top-right corner) under Blogger’s Dashboard. I have removed it due to some reasons. Neither did I find it to be much useful nor it was not going with my template design. If you think that these reasons are enough for you too to remove Blogger Navbar then follow anyone of the tutorials as told below.
First, go to Template > Edit HTML. Find
]]></b:skin> and above this add:#navbar-iframe,
#navbar {
height: 0;
visibility: hidden;
display: none;
}
Preview your template, you will find out that it is not visible (hidden). Now save your template, that's it. Here I have used the method to hide the Navbar completely.
Other options
There are other things too that can be done, let us see that. Remember, these are all optional and use any one of the methods below whichever suits you.
Auto Hide
Just add the below codes before
]]></b:skin>.#navbar-iframe,
#navbar {
opacity: 0;
filter: alpha(Opacity=0);
}
#navbar-iframe:hover,
#navbar:hover {
opacity: 1;
filter: alpha(Opacity=100);
}
This option will hide the Navbar temporarily. Whenever you move the pointer to the top of your browser screen, it will be visible again.
Remove Blogger Navbar Completely
Just before the
</head> in your template, add the following code:<!-- <body>
<div></div> -->
This will not only completely remove the Blogger Navbar but you may also find that the quick edit pencil and wrench icons are also removed. This can be a big help for people who are trying to validate Blogger templates.
P.S. This post has been updated on April, 2012.


0 nhận xét:
Post a Comment